DIY: Sanding and soap treatment of Børge Mogensen's J39 Folk Chair
In the following, the sanding and soap treatment of Børge Mogensen's classic J39 Folk Chair in oak is taken as a starting point, but the actual process and wood processing is similar for furniture in oak and beech. There is not one clear and correct solution to reach a satisfactory result, but it is always an individual assessment of the tree's starting point. However, there are no easy shortcuts in relation to chemical products, sandblasting or anything else in connection with sanding a lacquered, oiled, stained or untreated piece of furniture.
As a starting point, you must always sand in the direction of the grain of the wood and if you are sanding a table top, remember to make sure that it is made of solid wood. If it is veneer, it is recommended to be very careful, otherwise you will be able to sand through the veneer.
Below is a before and after picture:

It makes a lot of sense to repair furniture rather than buying new. With a few funds, you can help change the look of your old furniture yourself. Always remember to do the job properly and use only quality materials. If you have your furniture set up, always choose a professional partner and please see pictures of similar projects they have carried out before accepting the offer.
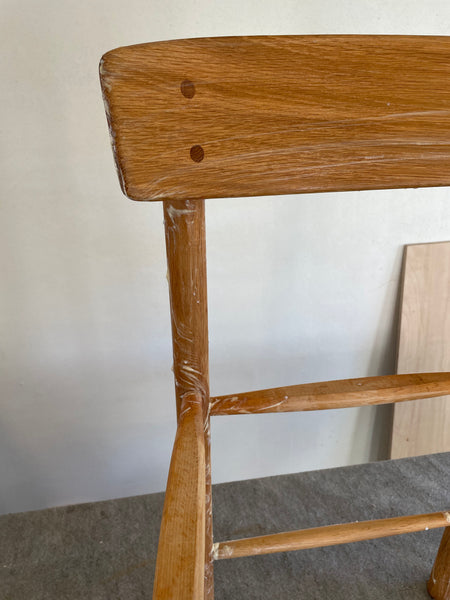
Below is the chair we would like to change the look of and make more modern.

Material list
1. Need to have: sandpaper, sanding sponges, respirator and patience
2. Nice to have: Eccentric sander, Delta sander, hearing protection, breathing protection, sandpaper, sanding sponges and patience
Section 1)
Remove the old braid. Do it outdoors and use a dust mask. If you buy a piece of used furniture that you don't know the history of, remember to have all the upholstery replaced.

By braiding the seat, you get all the old dust away.

Remove the staples with a pry bar. Møbelfix sells the absolute best bias bit for removing staples. You can buy it here .

Point 2)
As a starting point, it is always recommended to start with sandpaper grain 180. After this, an individual assessment of the subject is made. If the furniture is varnished, it is recommended to rough sand with grit 80. Be careful not to change the wood's shapes too much by sanding the organic shapes angular. In this rough sanding phase, it is of course not the most decisive.
In this case, the chair is lacquered and we use a Festool Excentesliber ETS 125 REQ with soft sole and Granat sandpaper grain 80.

Item 3)
When the furniture has been rough-sanded and all the old wood/varnish or oil has been sanded away, it must then be fine-sanded with e.g. grit 180. It is also in this phase that unevenness and edges from the rough-sanding phase can be sanded fine and round again.

Item 4)
The hard-to-reach places can be plastered either by hand.
In this case, a Festool Delta sander with Granatpaper grain 180 was used.

Point 5)
When the furniture is looking nice, fine and bright, the furniture is ready for a new treatment in the form of varnish, soap or oil. But since the old surface has been sanded away and the wood now appears completely open, the wood fibers will rise and the surface will appear rough.
Watering the tree is therefore a very good trick. In other words, wash the wood off with water (not too much). After this, the tree will rise.
For oak, it is recommended to use demineralised water to avoid discolouration of the wood.

Item 6)
When the wood is dry, the furniture can be finely sanded with grit 180 and subsequently 240. Here it is a great advantage to use a sanding sponge to achieve the final finish.
In this case, sanding sponges from Festool have been used.

Item 6)
When the wood is completely round and smooth, saturate it with soap. The process is repeated 2 times. Possibly. with intermediate sanding with a sanding sponge grain 240 or equivalent. Do not leave the soap on for too long (5-10 minutes). Then remove the excess soap with a lint-free cloth.
In this case, wooden soap from Guardian has been used. The soap is incredibly simple to use. It can be purchased here

Wash the chair well with Guardian wood soap 
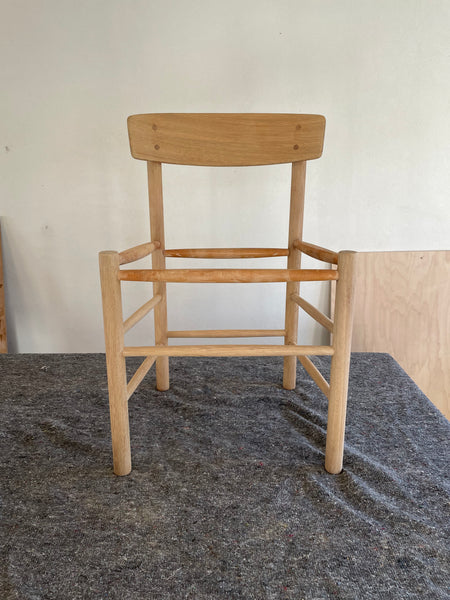
Here's the finished result :-) 
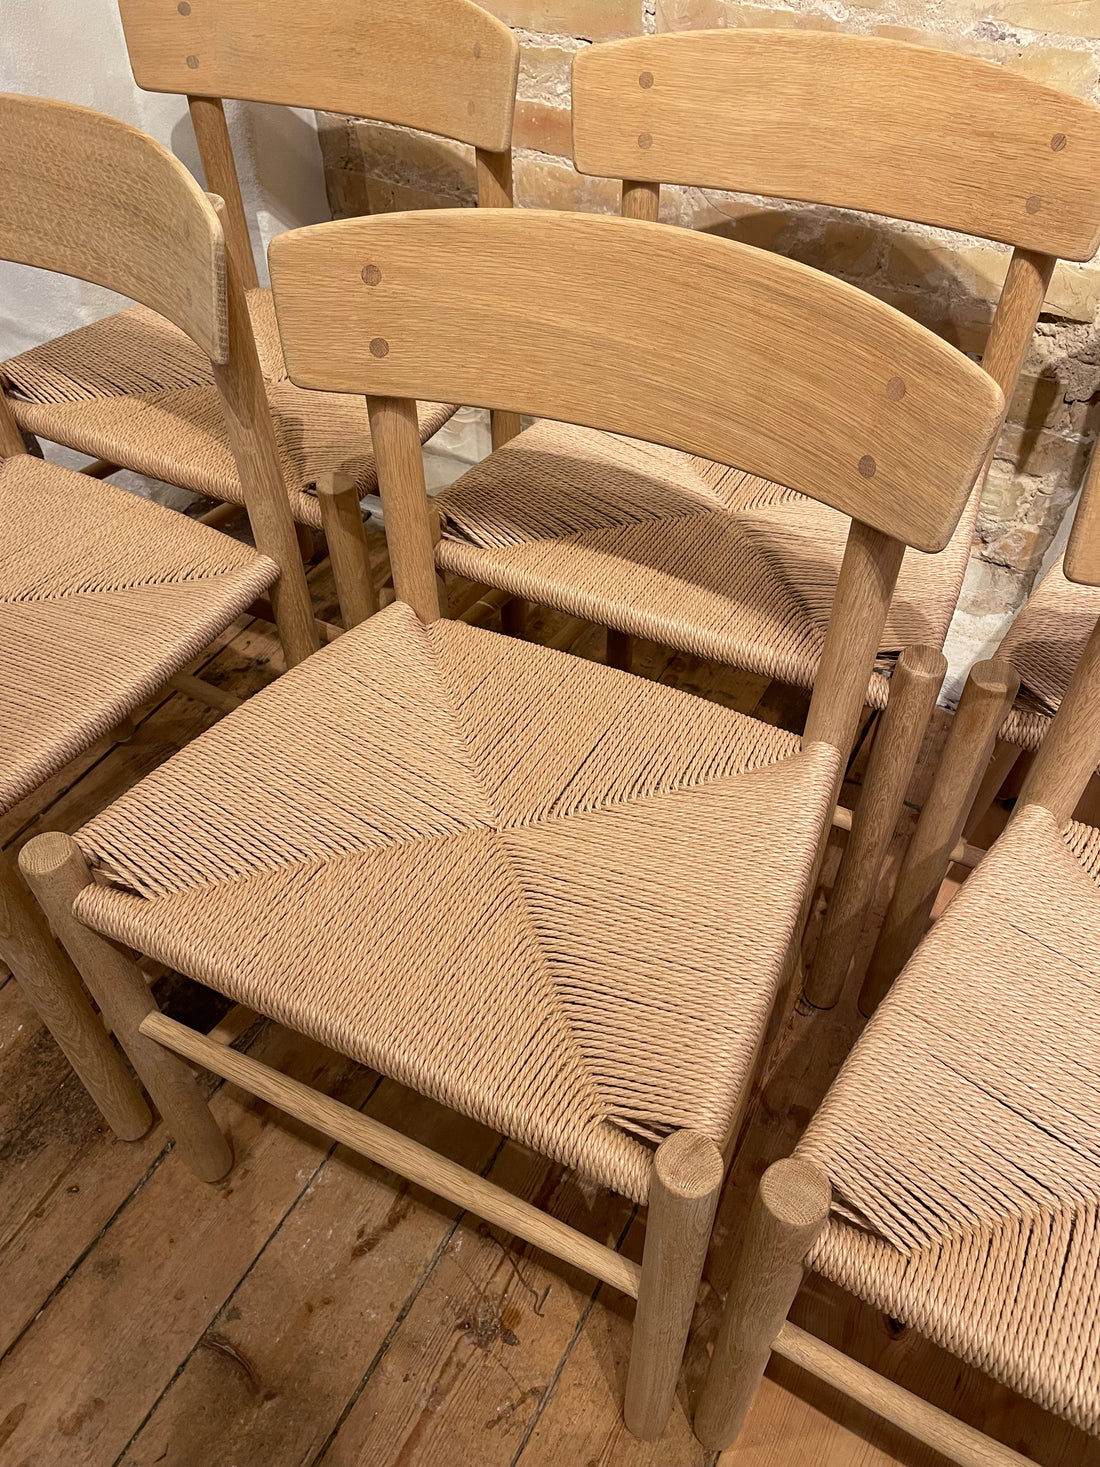
...And the finished result with a new wicker seat


The furniture is then finished and ready for use. Remember that this guide is only indicative and for hobby use. There are several ways to do this and all furniture is different and requires different processing.
Good work ethic :-)
